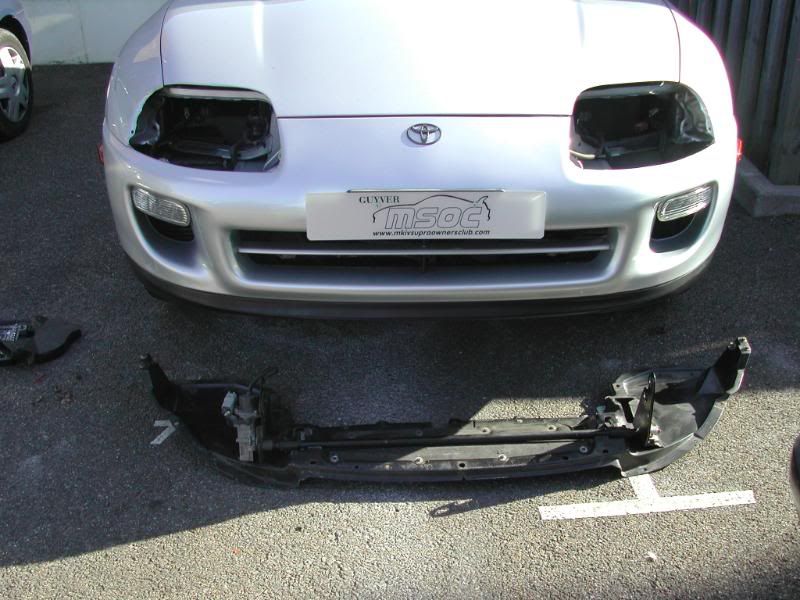
Now we can think about fitting the spoiler assembly.
If your spoiler is already assembled then good for you and you can miss this next part. For those of you that had to get all the bits separately heres how to assemble it.
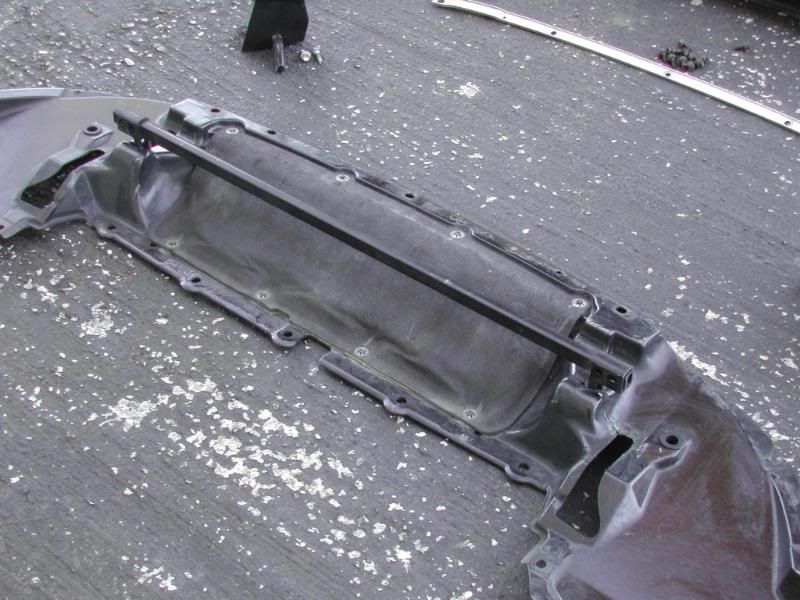
First the bar that the spoiler will bolt on to needs to bolted to the under tray (cant miss it, it has a rubber strip on it). 3 M6 bolts each side (I used spring washers on mine so the shouldnt come undone).
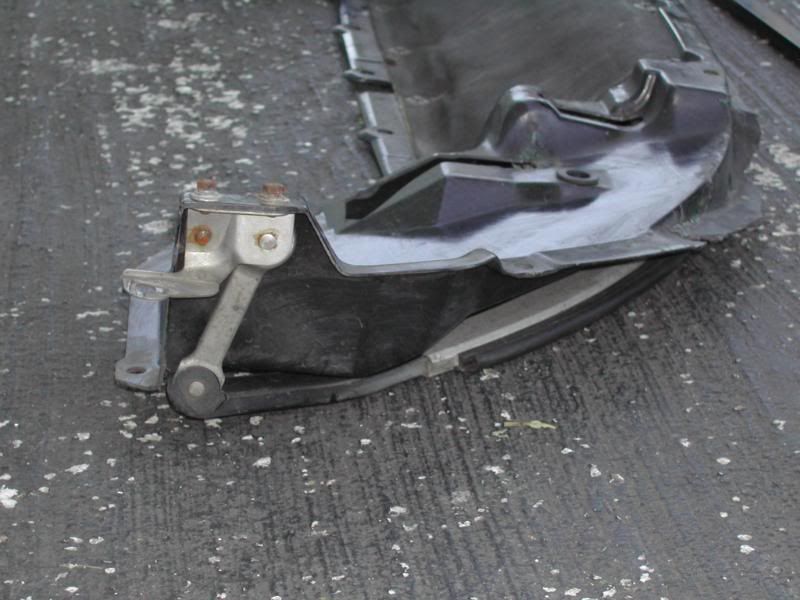
Next the two black L shape parts need to be fitted. These go through the under tray and point out.
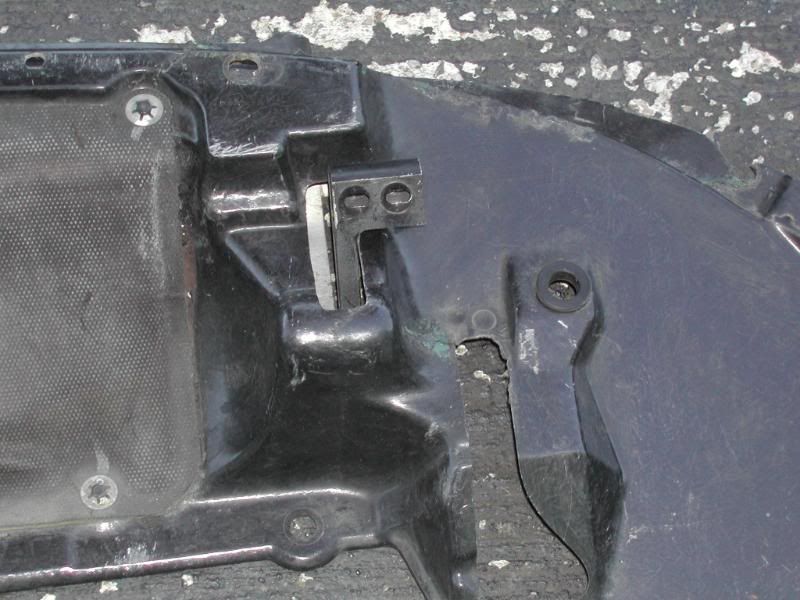
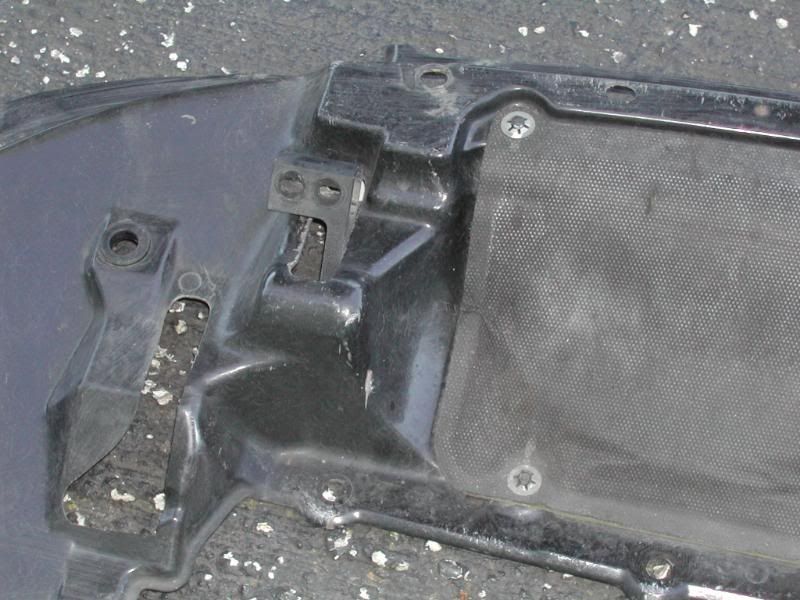
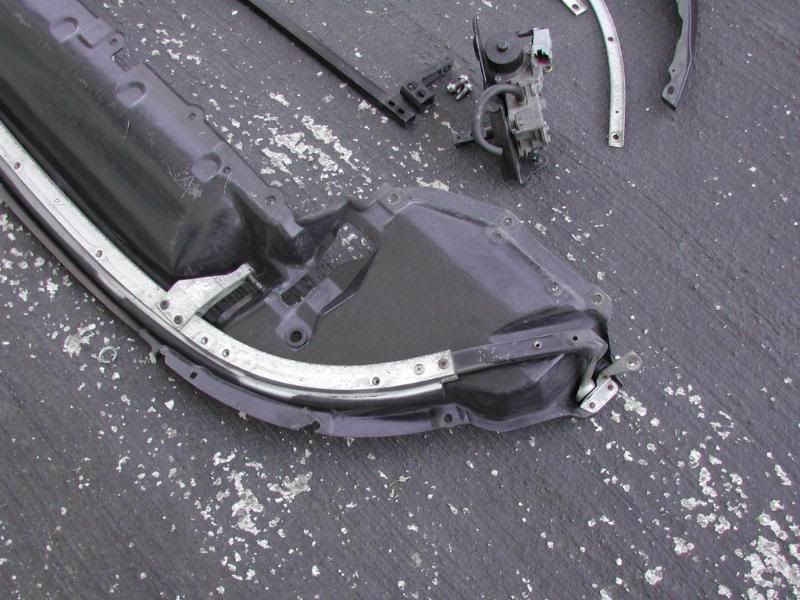
Now the long bar can be threaded through ready for the mounting plates.
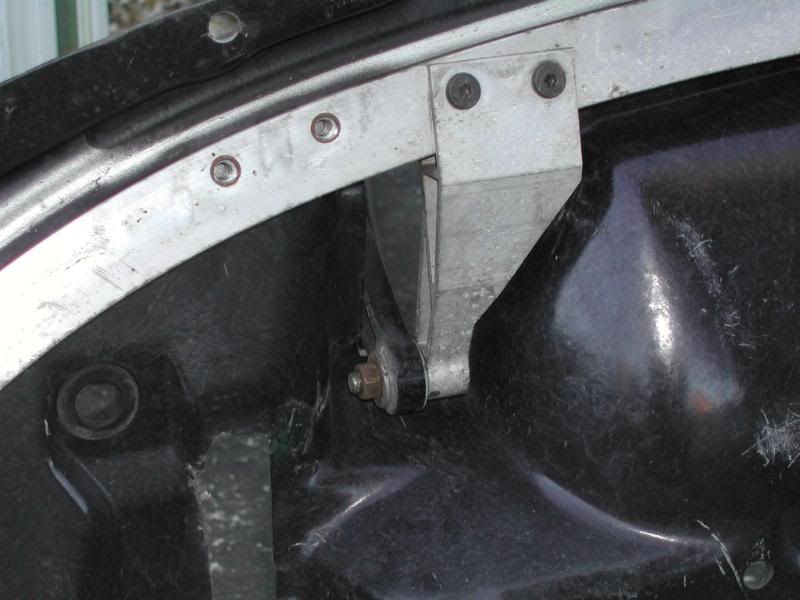
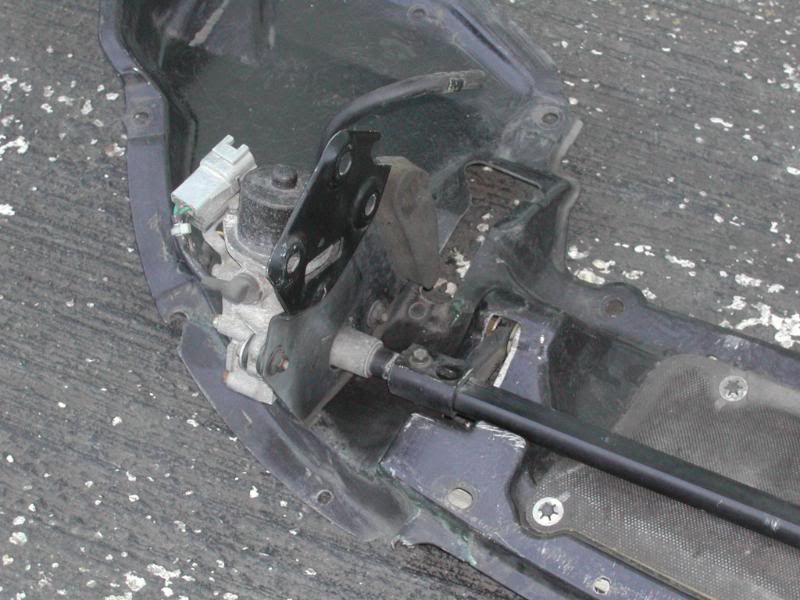
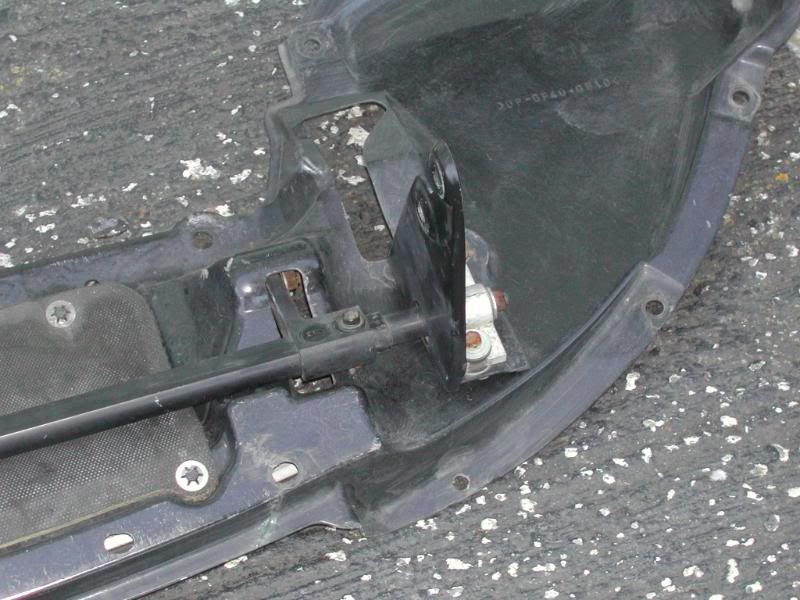
The motor can now be fitted to the offside end of the bar you just fitted with the other plate on the other end. There are two bolt holes each end but I only had one bolt. I replaced a missing one with a M6 bolt 34mm long (again its thread length taken from under the bolt head) and a nut. Although there are two bolt hole each end Ive had no problems fitting just one each end. When you fit the mounting brackets dont tighten the bolt as you need to move the plates outwards (the holes are slotted), this helps when you fit it to the car. These plates are also bolted from underneath the under tray I used a long M6 bolt for this with a large washer to cover the hole in the under tray (the hole also has a rubber gromet around it).
It is now ready to fit to the car.